Easy Sourdough Pizza Recipe
Last updated on November 12th, 2023 at 06:56 pm
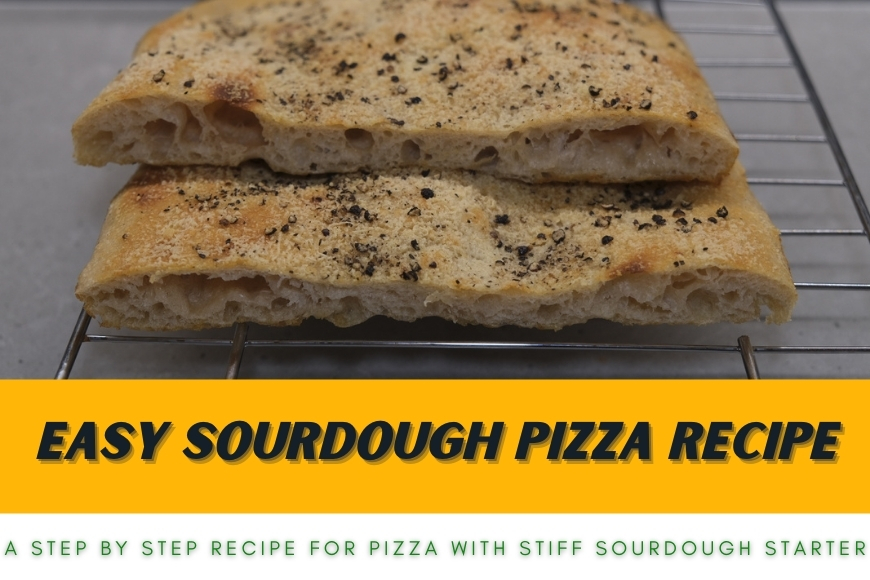
Are you ready to taste the best Sourdough Pizza crust ever? I have tested this Easy Sourdough Pizza Recipe several times. It’s now time for you to do it. Low efforts thanks to my step by step process that covers every aspect of this Pizza making.
When I created my Sourdough from scratch I always had this post in mind. Making Sourdough is one thing. But using it is a different one. Especially for the Stiff Sourdough there are not so many recipes and resources online. In fact I spent quite a bit of time to tune my Sourdough Recipe to make it working consistently.
Challenges for a good but still easy Sourdough Pizza Recipe are in ingredients balance and time. Questions like “Can I use cold fermentation?” or “how much Sourdough to use for Pizza?” do not always find an easy answer. Sure, you can study and test (like I did) or… you can make it easy and follow my recipe, good result guaranteed!
So we are going to do a Sourdough Pizza Crust together as follows:
- Intro: Sourdough Pizza Recipe
- Preparation: Schedule and time
- 1: Prepare Sourdough for Pizza
- 2: Sourdough Pizza Dough Kneading
- 3: First Fermentation and Maturation
- 4: Folding Pizza dough and second Fermentation
- 5: Stretching for Pizza Pan and third fermentation
- 6: Cooking your Sourdough Pizza
Don’t be afraid of the long list of actions. It’s actually much easier than it sounds. In total it will take a bit more than 24 hours between the start of the process and the moment you can eat the Pizza. I did it this way because it will be easier to manage the time and make sure the dough is ready. You can fine tune the time and reduce the maturation time. For example you can skip completely the usage of fridge. But let’s talk about it when it’s time.
Sourdough Pizza Recipe
If you followed my previous articles about Italian Style Stiff Sourdough you now have a healthy mother yeast or natural yeast. So it makes now sense to use Sourdough For Pizza.
You will make a perfect use of your Sourdough!
Before sharing the recipe let me tell you that what we are going to use is perfect also for Sourdough Focaccia. It requires very small changes, (like different flour, for example) to adapt it. In fact you can easily get an Italian Focaccia Bread or Italian Pizza. In both cases you will make a perfect use of your Sourdough!
And here we go with my Easy Sourdough Pizza Recipe. It is perfect for a Pan size of 30×40 cm. I tested it several times and it simply works. It is possible to tune the fermentation time using the proper cold techniques. If you are interested to know more leave me a comment or contact me.
| Ingredient | Quantity |
|---|---|
| Flour | 340 gr |
| Water | 235 gr |
| Sourdough | 68 gr |
| Salt | 9 gr |
| Oil | 7 gr |
| Malt | 2 gr |
| TOTAL final weight | ~650 gr |
I always repeat in my articles and everywhere else that making a good and healthy Pizza is about following the right process. This is even more important when working with Stiff Sourdough. In fact everything is working a bit slower than with standard yeast. Moreover the way you mix ingredients is different and requires to apply peculiar techniques for a consistent result. No worries, I am explaining everything step by step!
Anyway if you ask me: is it worth to dedicate some more efforts to prepare the pizza with Sourdough? My answer is: no doubt! The taste is fantastic!
So let’s move ahead with all the needed steps, maybe following a suggested schedule…
Do you like this article so far? I would like you to consider to subscribe to my newsletter. It’s free, you will get a Recipe Notebook to download and you will never lose my new tips & tricks around the world of Italian Pizza. I hate spam too, so no worries, subscribe with confidence:
Schedule and time for the Sourdough Pizza Recipe
The success of this recipe depends also on setting the right schedule. Remember that when we deal with Stiff Sourdough everything is going to happen at a completely different pace than when we use standard yeast.
After several attempts I came out with a schedule that will make possible for you to prepare the Sourdough Pizza consistently and with reduced efforts. I wanted to make it easy as first goal. However please keep in mind that there are two factors that can change even dramatically the suggested schedule: your Sourdough Health and the room temperature.
Temperature plays a critical role here. Sourdough does not prefer low temperatures. So consider that, especially in winter, some conditions are hard to meet. You can partially compensate colder days using the oven and its light. Storing the dough for the first and second fermentation this way will definitely help in winter. Otherwise you can build yourself an easy leavening cell. I am already planning to write a dedicated article for it.
The second aspect is the Sourdough Health. If you are not feeding your Sourdough very often (daily for example) the risk is that it is not strong enough to sustain a fermentation immediately. In this case I recommend to feed two or three times the Sourdough you are going to use in the recipe before actually using it.
That said, here is my suggested schedule:
| Step Number | Process Step | Time of the day | Duration |
|---|---|---|---|
| 1 (day 1) | Sourdough Feeding | 5:00 PM | 10 minutes |
| 2 (day 1) | Auolysis (no-knead) | 5:10 PM | 5 minutes |
| 3 (day 1) | Kneading | 8:00/8:30 PM | 7/8 minutes |
| 4 (day 1) | Fermentation Start (room temperature) | 8:45 PM | from 2 to 3 hours |
| 5 (day 1) | Controlled Temp. Fermentation | 10:45 PM | ~12 hours |
| 6 (day 2) | Folding and second fermentation | 11:00 AM | ~8 hours |
| 7 (day 2) | Stretching for your pan | 19:00 PM | 1 hour |
| 8 (day 2) | Cooking | 20 PM | 11/15 minutes |
Prepare Sourdough for Pizza
It does not matter if you are preparing a Focaccia bread or a Pizza Pan. The first step in every recipe is to feed your Sourdough! The first big difference between using Yeast or Sourdough is that you cannot use Sourdough straight away as you would do with Yeast. Instead you want to prepare your mother yeast to sustain the dough fermentation.
The preparation of the Sourdough for a recipe consists in creating enough new Sourdough and wait for it to double or even triple before using it
So, the preparation of the Sourdough for a recipe consists in creating – or feeding – enough new Sourdough and wait for it to double or even triple before using it. The only way to obtain that is to feed the Stiff Sourdough you already have while keeping enough stored for next recipes.
To facilitate the calculation of amount of the ingredients you need to create the needed Sourdough you can use my previous blog post. At the end of this page you will find the Sourdough Feeding Calculator. It’s very easy and intuitive to use.
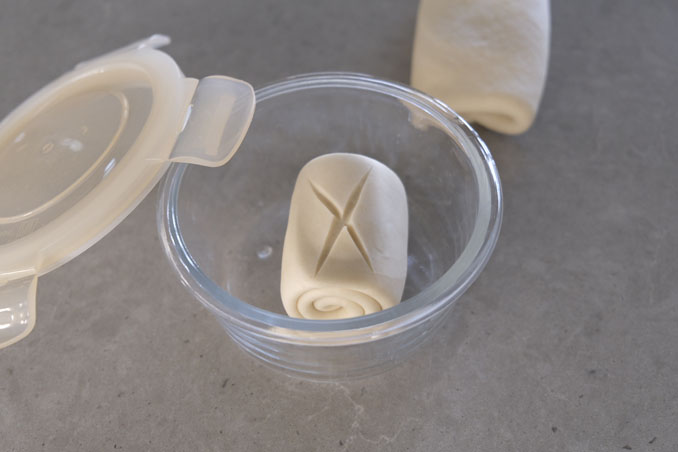
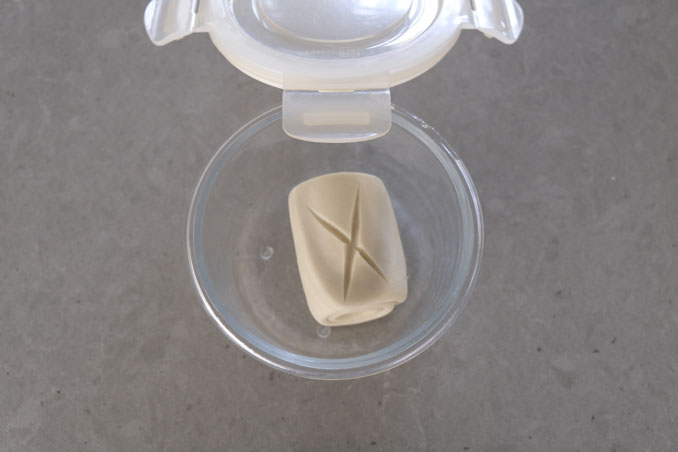
Make sure you have a small recipient that contains three times the amount of the Sourdough needed for the recipe and keep it ready.
Then start the feeding of the Sourdough according to the calculator and divide the Sourdough you will use for the recipe from the one you store in the fridge. The first one only needs to stay at room temperature.
Now it’s time to wait. My Sourdough takes between three and four hours before it’s ready. It has to double at least. Normally this happens with a room temperature between 24 and 25 °C (75/77 °F). Therefore a quick tip: plan to arrange the Sourdough feeding well in advance, especially if you have lower temperature. Also make some tests to check your Sourdough health status not to screw up the recipe.
Last but not least: if you are normally maintaining Sourdough feeding it once per week, I strongly recommend to repeat the recipe feeding process two (or even three) times before using the Stiff Sourdough.
Sourdough Pizza Dough Kneading
For the preparation of this recipe we will divide the kneading process in two parts. We will have an initial kneading only with Flour and Water. This is meant to provide a big help as I explain later on.
The second kneading is where we add all remaining ingredients. Super easy to do and it reduces the efforts to create the right gluten mesh. This is very important for us also because it gives the possibility to use practically every possible flour! Therefore this process is giving us a huge flexibility.
Use the no-knead (autolysis) technique
While we wait for the Sourdough to be ready we can immediately start preparing the initial dough mix. For an easy Focaccia or easy Pizza we will use autolysis sometimes known as no-knead technique.
The goal here is to facilitate the water absorption of the Flour as well as the creation of the initial Gluten Mesh without too much efforts. This way, when the Sourdough is ready we can add it and avoid to mix ingredients for too long time.
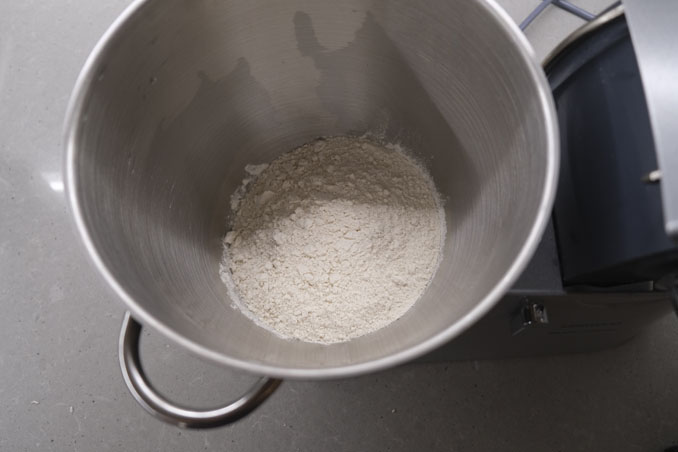
For this recipe we can use all-purpose Flour, Plain Flour, High Gluten Flour or even Semolina Flour. It adapts really to everything! Let’s take all amount of Flour indicated in the recipe and put it in the bowl of a stand mixer. If you kneading by hand just use your favorite bowl.
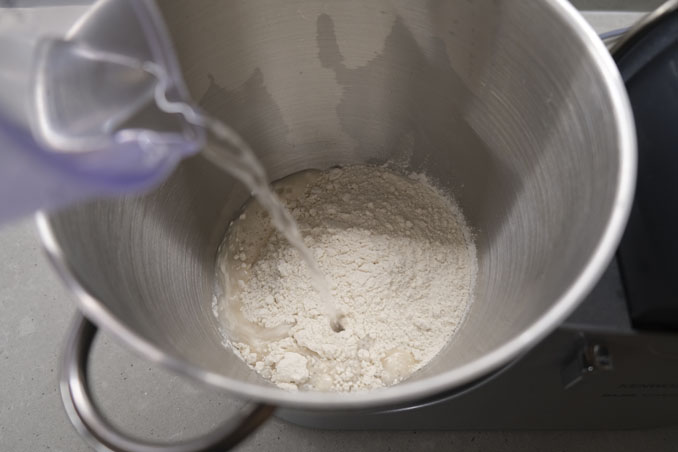
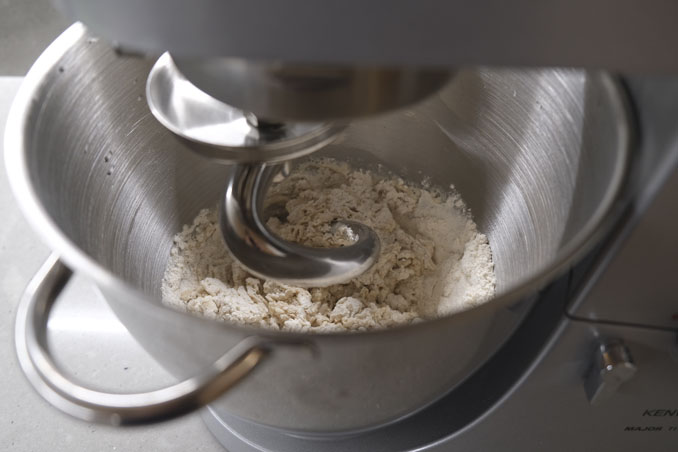
Now, add 85% to 90% of water, start mixing until all the water has been absorbed. It should take no more than 3 minutes in a stand mixer:
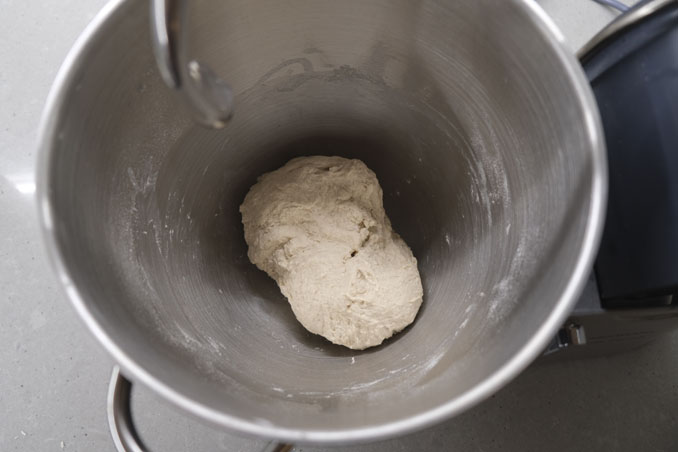
And that’s it. Cover the bowl with a lid or cling film and let the dough having a rest. We will touch it again only after the Sourdough is ready.
Final mix using Sourdough
After about three or four hours since we finished the feeding of the Stiff Sourdough we should be ready to continue. Specifically we should have now the Stiff Sourdough doubled or even tripled in size. If not, better to wait for it to grow. Don’t be in rush. This is mine when it’s ready:
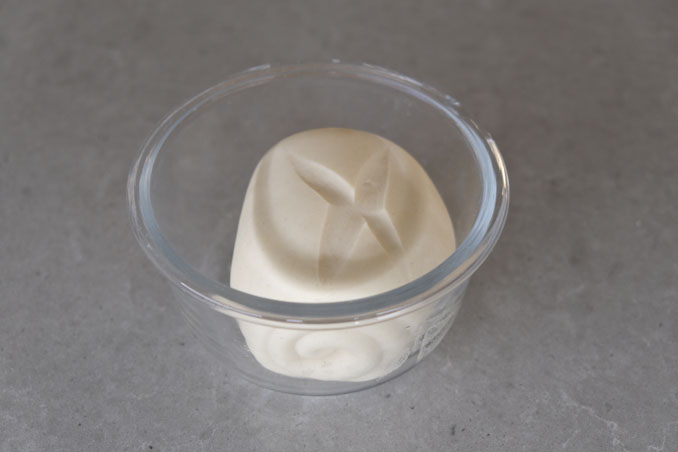
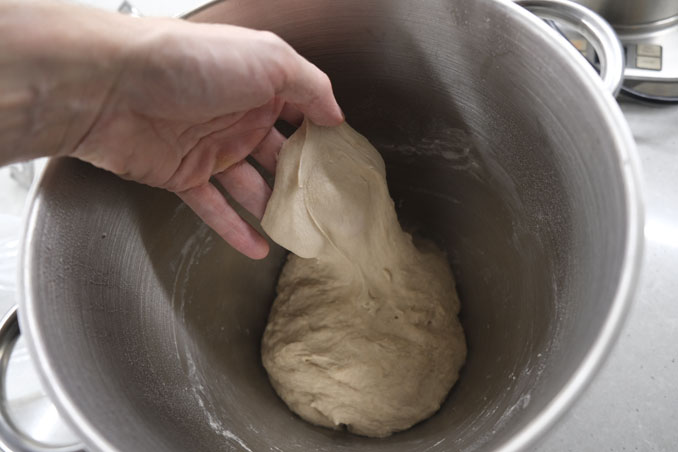
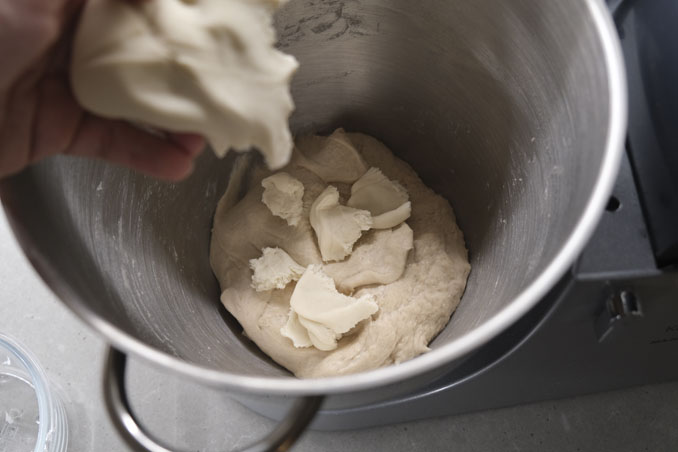
Firstly we take the Stiff Sourdough form its recipient and we reduce it in pieces with hands. Every piece goes immediately in the bowl where the dough previously prepared was waiting. Here we can notice how the dough has already changed its structure thanks to the Autolysis. This is also when we add Malt, if we have it at our disposal.
Only add more water when the dough absorbed the previous one
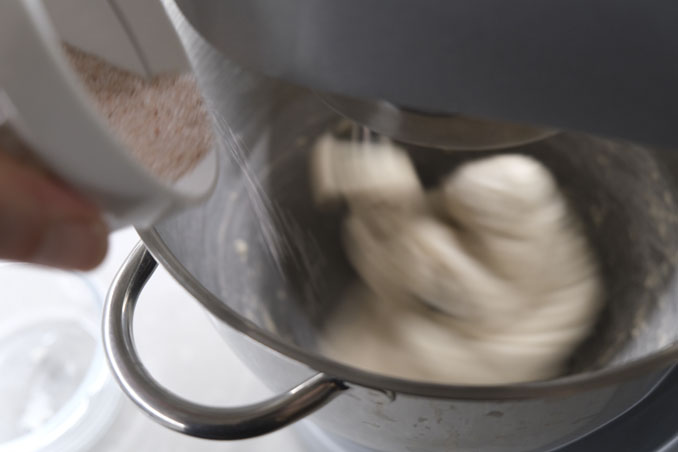
Secondly we start the stand mixer at low speed and we begin adding some water (please use cold water, from the fridge at least). We have to be careful here not to add all the water together. We want to slowly add a few milliliter at a time. Only add more water when the dough absorbed the previous one and the bowl is clean on the borders. Also you can now increase the speed of the stand mixer to help the dough. Just be careful not to go too fast with speed.
After the second water addition we add all salt and we then continue adding water until is finished (again, few milliliter at a time).
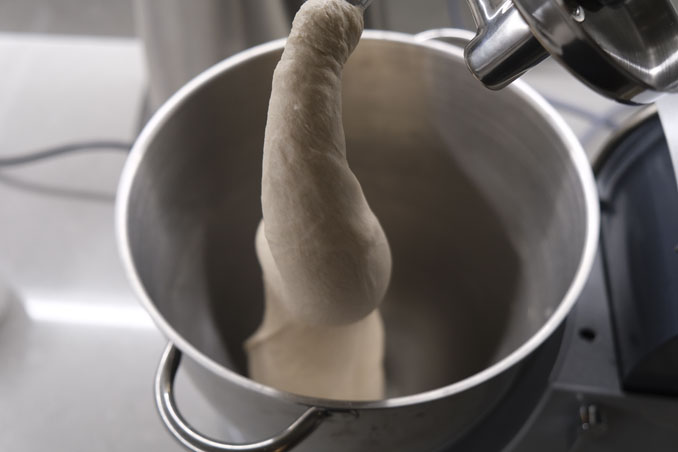
As soon as the last water is absorbed is time to add oil. As we do not have too much to add we can drop it all. Increase a bit more the speed of the stand mixer and stop it as soon as the oil is just absorbed!
It is wise now to measure the temperature of the dough, if you can. Ideally you do not want to go over 27/28 °C.
Then let’s the dough have a rest for 5 minutes after covering the bowl with a lid. Meanwhile we prepare our container where we will have the fermentation process to start. Add a bit of oil and spread it.
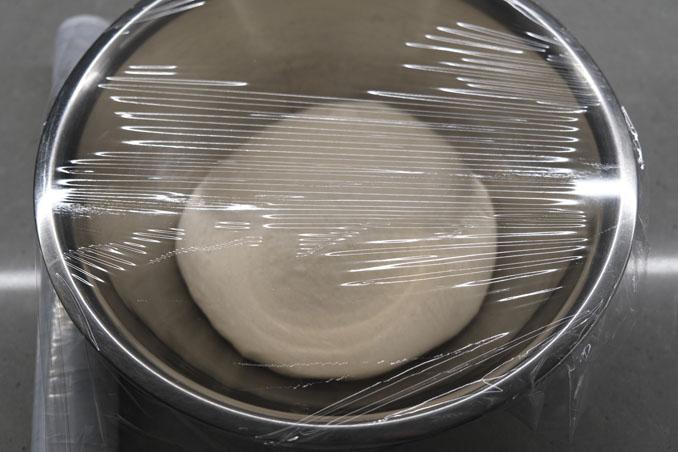
Last step is to move the dough out of the bowl, compose it back, do some folding only to shape the surface is smooth and put it in the recipient you just prepared. Now, you want to simply put a lid and have the dough resting for about 2 to 3 hours, according to the suggested schedule above.
First Fermentation and Maturation
During this phase there is not so much to do in terms of activities, other than waiting 🙂 Firstly we wait between 2 to 3 hours at room temperature as said just before.
Secondly we move the dough to the fridge, where it has to rest for at least 12 hours. In order to make easier to adapt the Stiff Sourdough Pizza Recipe to your needs, you can keep it in the fridge for longer. Just make sure that the temperature where you store the dough is not lower than 6 °C (43 °F).
Regarding the initial fermentation at room temperature, in all my experiments I had between 24 and 25 °C (72/77 °F). It means that activities of the Sourdough are in a sort of ideal environment. If you do not have same temperatures no worries. Stick on the suggested schedule. It’s not ideal but it will still work.
One more note. If you are used to work with dough and followed some of my videos, you probably noticed that I am doing in this phase also something different than other recipes. In fact I am not doing folding that much. This is on purpose. We did it first time to put the Pizza Dough fermenting. We will have a second folding just before the last fermentation.
In order to help me growing I would like you to consider to subscribe to my newsletter. It’s free, you will get a Recipe Notebook to download and you will never lose my new tips & tricks around the world of Italian Pizza. I hate spam too, so no worries, subscribe with confidence:
Folding Pizza Dough and second Fermentation
At this point of the Easy Sourdough Pizza Recipe we did:
- Feeding of Sourdough
- Kneading
- First Fermentation (partially at room temperature and partially in fridge)
It is now time to take the Pizza Dough out of the fridge and prepare it for the second fermentation.
This operation should take you very small amount of time. It’s super easy and requires no more than 10 minutes. So just do the following:
- take the dough out of the recipient when it’s still cold
- make folding for just a couple of times
- shape the Pizza Dough again in a ball
- put it back in the same recipient after adding just a few drops of oil in it
That’s it! Now is time to wait for the dough to grow in size. It has to be at least 2 or 3 times bigger than the beginning.
Stretching for Pizza Pan and Third Fermentation
And here we go at the final phases of our Sourdough Pizza Recipe journey.
At this point you should have the Sourdough Pizza Dough mature enough to be stretched directly in the baking pan. Essentially it should be fermented and have reached almost three times the initial size.
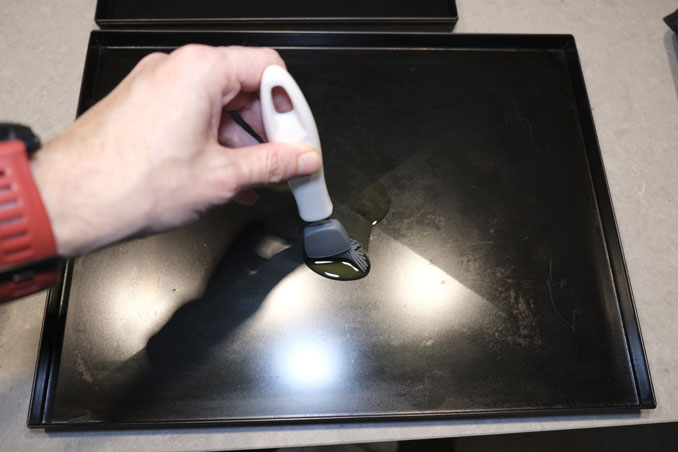
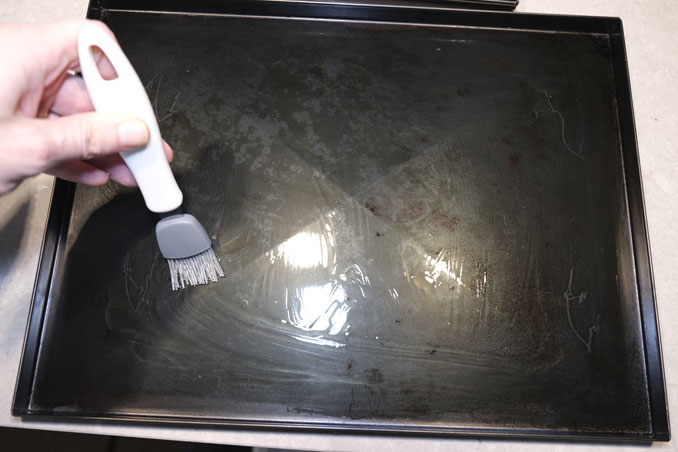
Start adding some oil in your Pan. If you have a kitchen brush use it to get some help and spread the oil on the pan base. Also do not forget to put some oil on the borders of the Pan. It will help during the next fermentation phase
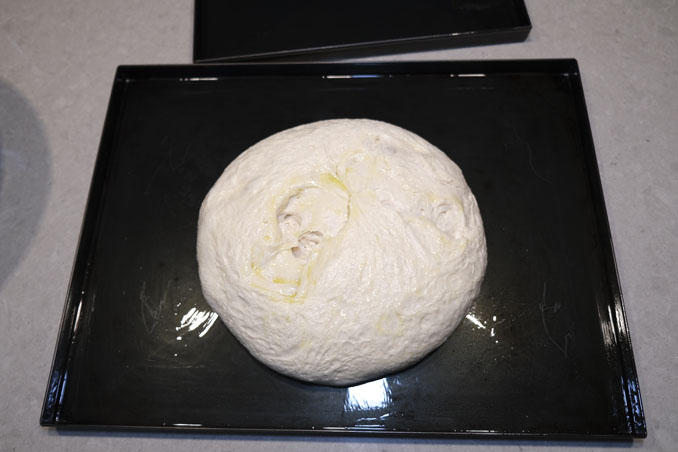
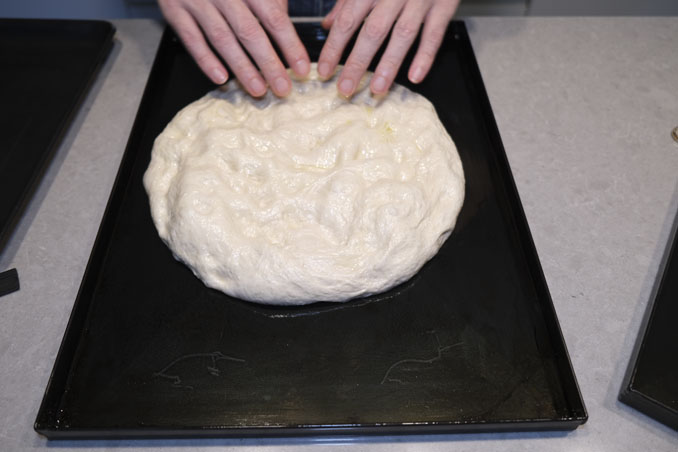
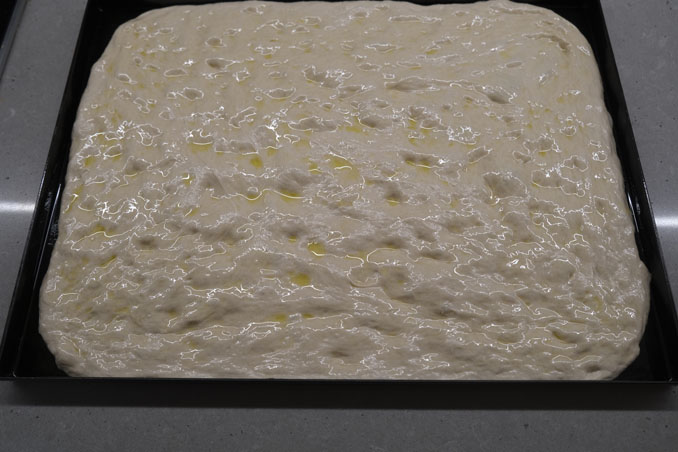
Now take the container with your dough, turn it upside down and put the Pizza Dough in the center of your Pan. Then start stretching the dough so that it reaches the borders of the Pan. You can use some oil on your fingers to make it easier to stretch the dough.
My Strategy to add final ingredients is changing based on the topping
At this point we have two options: we add immediately ingredients or we first have the dough resting a bit more. If you managed to stretch the Dough properly and without too much efforts I recommend adding ingredients straight away.
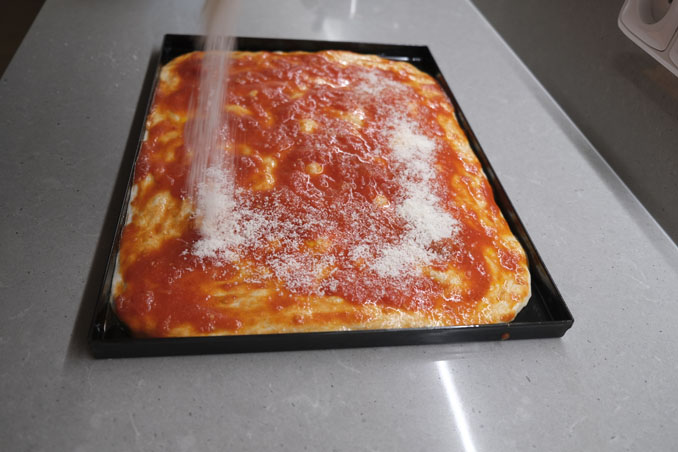
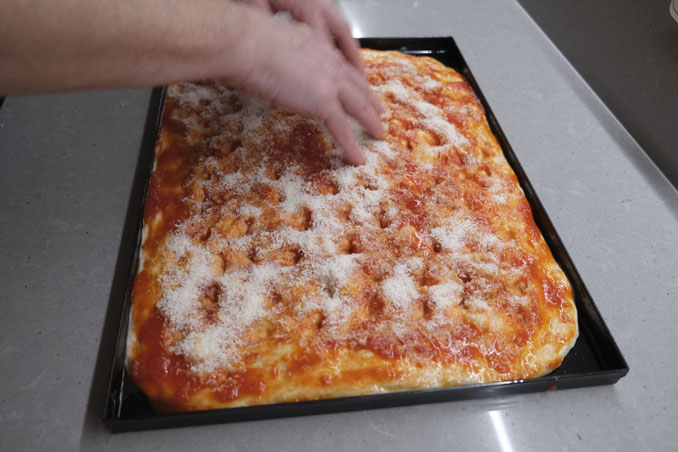
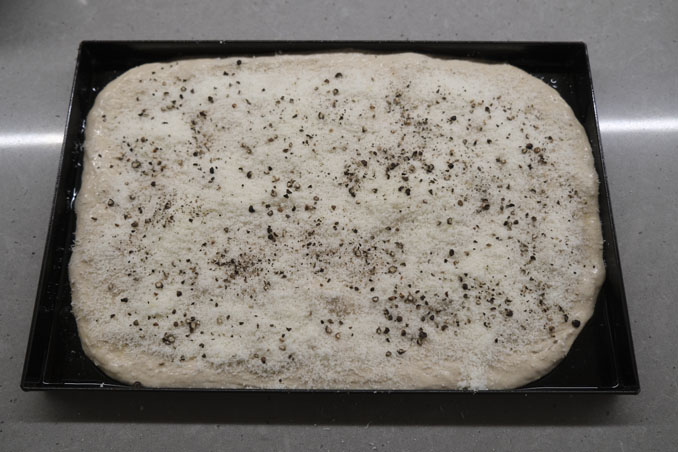
My strategy on when to add the final ingredients is changing based on the topping I want. If I am making pizza with tomato sauce I immediately add all ingredients. For the “white” Pizza I prefer to only add a mixture of salt and water and a bit of oil.
In any case, you want to wait now one more hour before cooking this wonderful and tasty Pizza!
Cooking your Sourdough Pizza
And here we go. Almost ready to taste the Pizza! Just one more step is left and it’s a critical one: cooking!
For the Sourdough Pizza Recipe I provided you want to prepare your oven at 240 °C (460 °F). So turn it on, set the right temperature and wait for it.
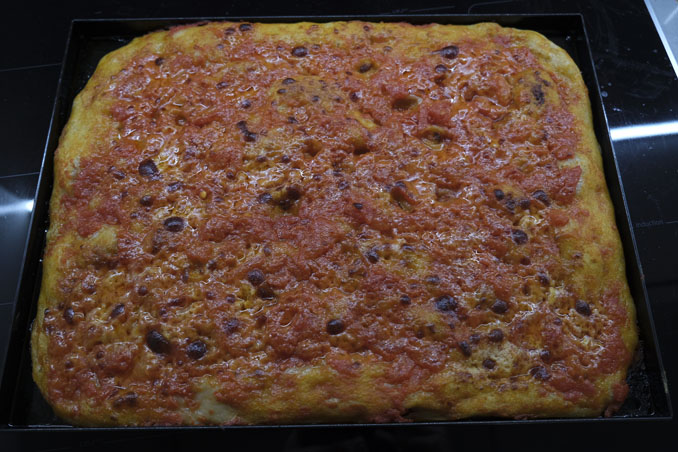
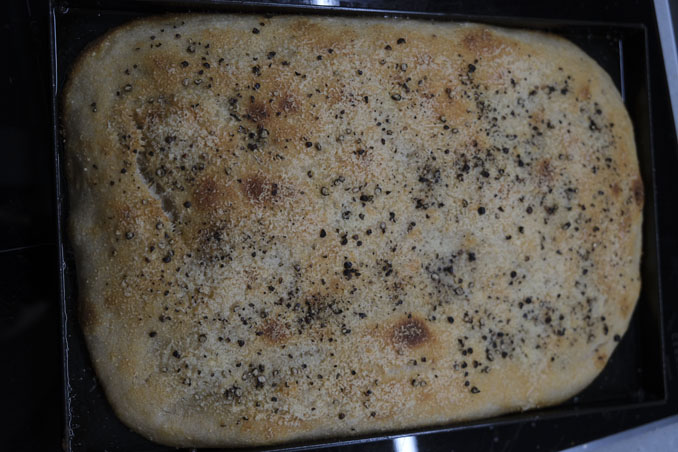
It should take between 11 and 14 minutes, depending on the oven and on the Pizza Topping. Make sure that your Pizza has the crust properly cooked. It should be of a brownish color. Also on the top you want to have the condiment dry enough. If not you risk that the crust below is not cooked, compromising the digestibility.
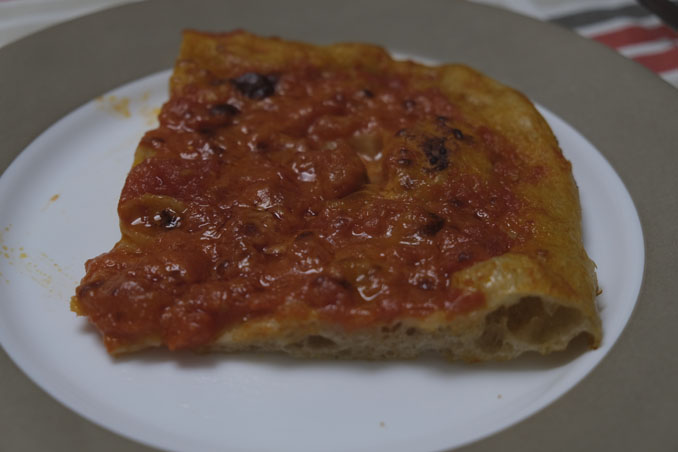
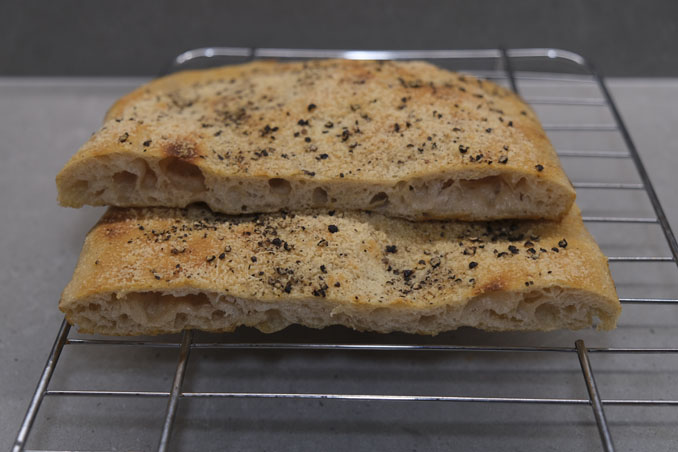
And now it’s time to enjoy! I am sharing a couple of pictures of the latest Pizza I made:
Let me ask you to consider to subscribe to my newsletter. It’s free, you will get a Recipe Notebook to download and you will never lose my new tips & tricks around the world of Italian Pizza. I hate spam too, so no worries, subscribe with confidence:

